Making peace with your photo pile (and maybe even enjoying the process)

Let’s be honest—culling can feel daunting. A pile of hundreds (or thousands) of images, each asking: “Keep me?” It’s easy to feel overwhelmed or unsure of what truly deserves a second look.
But what if culling wasn’t about cutting down, but about clearing space to grow? About learning to read your own work more clearly—not just for perfection, but for progress, potential, and personality?
This isn’t a process of ruthless rejection. It’s a mindful practice of noticing:
- What stands out right now?
- What might evolve with time?
- What’s technically off… but emotionally on?
Whether you’re curating for competition, science, art, or personal memory, the act of choosing what stays is just as creative as pressing the shutter. Below, we’ll explore practical tools, tips, and mindset shifts that make the culling process more intuitive, less stressful—and maybe even enjoyable. From rating systems to colour codes, and from knowing when to delete to when to defer, this guide invites you to cull with clarity, not fear.
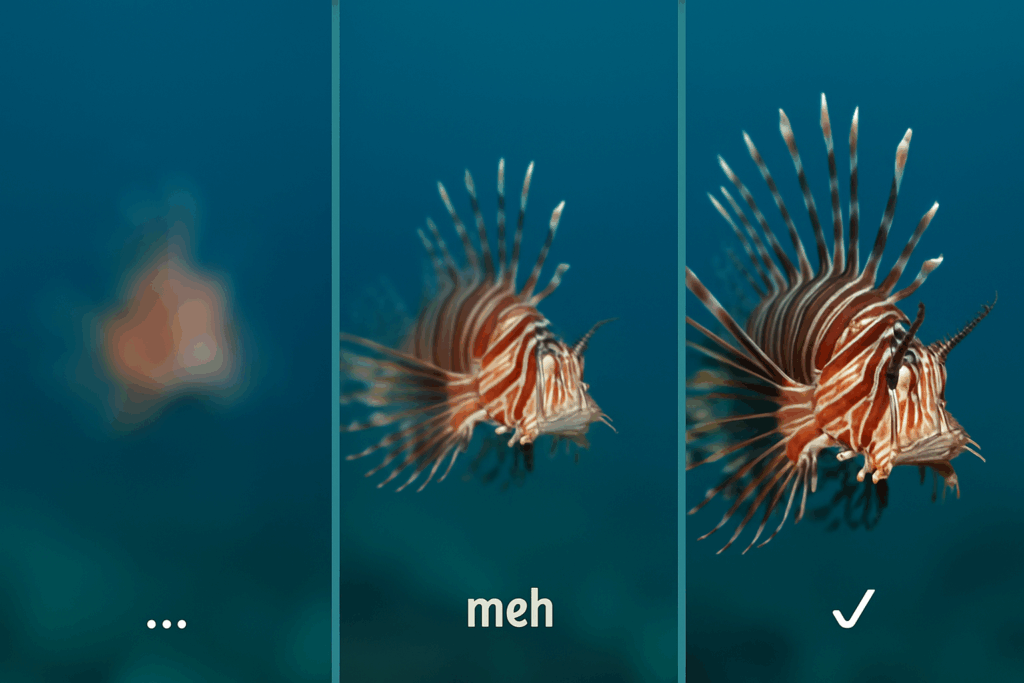
The Great Blur Debate: Intention vs. Impression
Let’s talk blur.
Many photographers use it with intention—to convey motion, isolate a subject, or create a sense of mood. Sometimes, you even get lucky: an unplanned softness that gives an image a dreamlike touch.
But here’s the thing—your intent doesn’t always carry through to your audience. To the viewer, there’s a line between purposeful blur and a photo that just looks… missed. If the softness doesn’t add something meaningful—or worse, if it distracts—it might not be serving your story.
So ask yourself:
- Is the blur expressive or accidental?
- Does it support the image, or undermine it?
- Would someone else instinctively get it?
If it feels like a technical hiccup, mark it as a reject. That doesn’t mean failure—it simply means you now have another reason to head back into the water and try again.
When to Reject, When to Reflect
In Lightroom, pressing “X” marks a photo as rejected. It doesn’t delete the image; it simply says: Not now, not today. Some photographers find joy in whittling down aggressively. Others prefer to keep everything, knowing their taste and purpose might shift.
And that’s valid. What looks like a throwaway today might serve a different purpose tomorrow—especially as your editing style, creative voice, or storytelling needs evolve.
Unless you’re pressed for storage, consider building a system that prioritises flexibility over finality.
The Flexible Star Method
Rather than jumping straight to deletion, try filtering your images through a layered rating system. This helps you refine your gallery over time, rather than making instant, irreversible decisions.
Here’s a method that many find useful:
- 1 Star – Your gut favourites. They catch your eye straight away.
- 2 Stars – The best of your 1-stars. You’re still liking these on second glance.
- 3 Stars – Worthy of editing, sharing, or showcasing.
- 4 Stars – Strong contenders. These might support a story or theme.
- 5 Stars – Portfolio material. The top tier.
This structure allows your taste to breathe. What feels like a 2-star image today might become a favourite with fresh eyes six months from now. And that’s the beauty of a system that grows with you.
Add Colour for Context
Beyond stars, Lightroom also lets you apply colour labels—and these can be a secret weapon for categorising your collection by purpose rather than just quality.
Try a system like this:
- Red – Behavioural moments or rare interactions
- Yellow – People, diver portraits, or ID/reference shots
- Blue – Abstracts, atmospheric, or mood-driven shots
- Green – Images needing creative edits or attention later
You can apply these labels while you cull, making it easy to filter for specific types of images when curating social posts, scientific submissions, or gallery sets down the line.

When to Let Go: Fair Reasons to Delete an Image
Not every shot is meant to stay. And that’s okay. Here are a few reasonable, even freeing criteria for why you might hit delete—without guilt, and with creative clarity:
- It doesn’t serve any purpose—now or later.
If it doesn’t evoke emotion, tell a story, or offer aesthetic value, ask yourself: Why am I keeping this? - It was a technical test—and it shows.
If you’ve already captured stronger versions, you can safely let the rough ones go. - It’s identical to another image—but not better.
Choose the strongest of the set. You don’t need them all. - You’re keeping it “just in case AI can fix it.”
Be honest: is it your photograph—or a future software project? If it only survives on the hope of technical rescue, it might not belong in your creative canon. Tools should support the vision, not substitute it. - It’s holding space, but not meaning.
If you’re keeping it for the memory of the moment, not the image itself, maybe find another way to document the experience—without clogging your library.
When to Keep (or Reconsider): Reasons Not to Delete Just Yet
Culling is also about recognising potential. Here’s why you might not delete an image, even if it doesn’t grab you immediately:
- The image tells a story—even if imperfectly.
A rare behaviour or fleeting interaction might trump minor flaws. - It doesn’t wow you today—but it might later.
Tastes change. Edits evolve. Give it space to surprise you.
It’s technically flawed—but emotionally strong.
A heartfelt blur can speak louder than a clinical sharp shot. - You’re too close to the shoot.
If you’re feeling critical or tired, give your eyes and mind a break. Come back later. - It’s part of a sequence or story.
It might help with pacing, theme, or narrative flow—even if it’s not a showstopper on its own. - It reveals something small—but significant.
Little biological details or species interactions can become highly valuable over time—especially for educational or scientific use.
Revisit. Reflect. Reconsider.
Sometimes, the best part of culling isn’t immediate. It’s in returning to your folders weeks, months, or even years later. You’ll see things differently—details you once missed, compositions that grow on you, or even technical flaws that now feel endearing.
Let your image library be a living, breathing thing. You don’t have to do it all in one sitting. And you don’t have to get it “right” the first time.
Culling isn’t about being ruthless. It’s about being aware—of your goals, your style, and how they shift over time. It’s about making space for the strong images to shine, while allowing room for your perspective to change.
And if you missed the shot? Well, that’s just the reef inviting you back again.
That said, if you’re someone who prefers to delete—delete. The process is yours. Those zero-starred images that didn’t catch your eye the first time, the ones where hesitation is entirely absent—they may not be worth a second glance. Sometimes you don’t need to overthink it: a mystery blob isn’t a nudibranch, it’s your finger. That murky rectangle? Not mood—just a lens cap moment. Delete the evidence, clear the clutter, and let your real images breathe.
Whether you’re a keeper, a deleter, or something in between, the goal remains the same: make room for the images that matter, and trust that more will come.